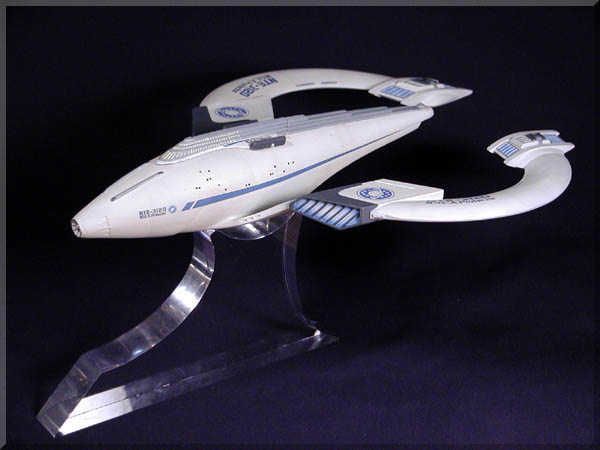
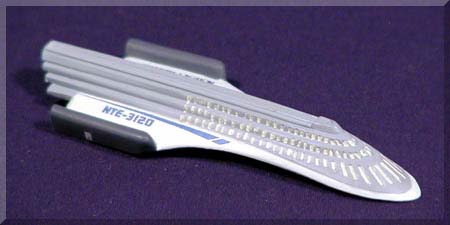
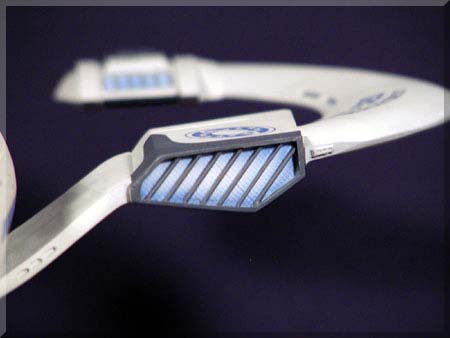
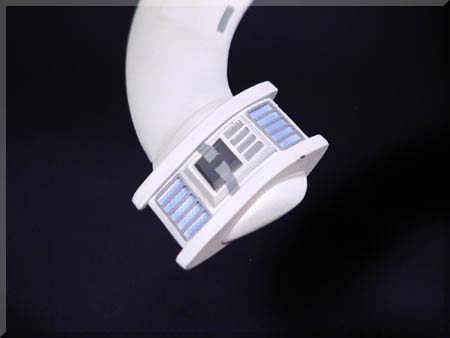
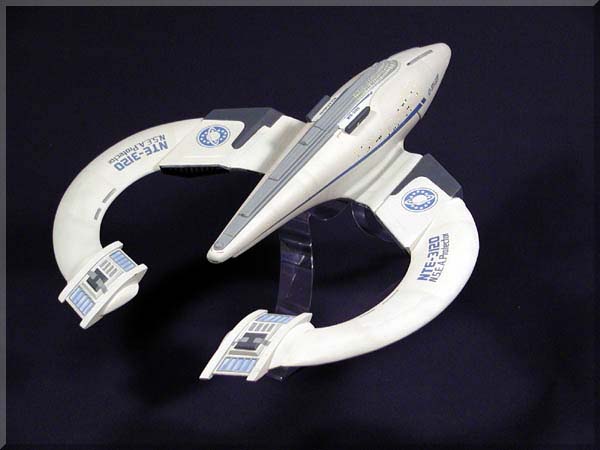
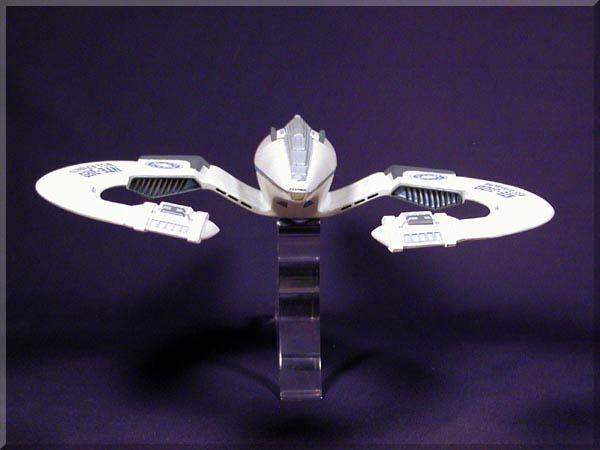
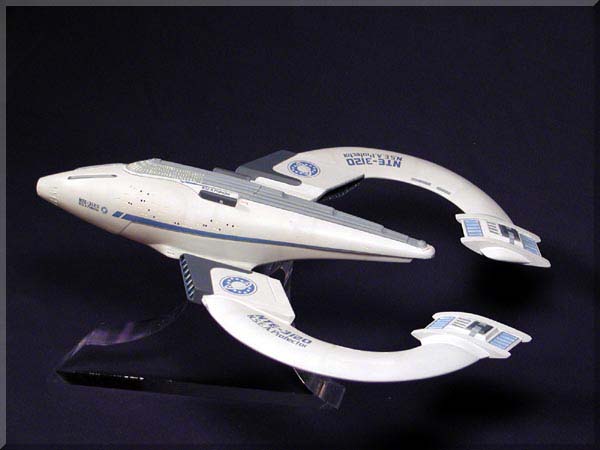
 The NSEA Protector, stalwart vessel of the intrepid Galaxy Quest crew, burst onto the screen in 1999 in what is probably the best "non-Trek" Trek film to date. As a modeler and an avid Star Trek fan, I wanted a model of this ship from the moment I saw it. In the spring of 2003 Federation Models announced the release of this kit slated for that July. It was a foregone conclusion that I would buy one.
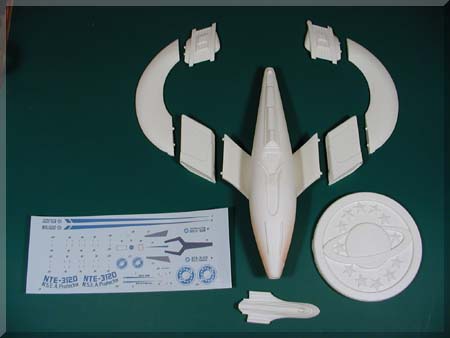
The kit consists of eight parts, a circular base, and a nicely printed decal sheet. Registration pins were cast into each of the ship parts for ease of assembly. Not likely the look of a ship sitting on a brass rod, I chose not to use the base, but rather, make one of my own.
Assembly went smoothly. All of the parts fit well and didn't require any pins to reinforce the joints. There were a few mold lines--due to the complex shape of the main hull--that required some putty work to smooth out. It wasn't until the painting that the headaches began.
it's important to thoroughly wash resin before painting in order to remove any mold release residue. Even so, I ran into problems getting the paint to adhere. Primer went on smoothly, as did the main color coat. After masking and painting the dark gray trim that the problems began. Paint peeled off in sheets as the masking was removed,
leaving bare resin in the wake of the "disaster". I had to strip the paint and start over.
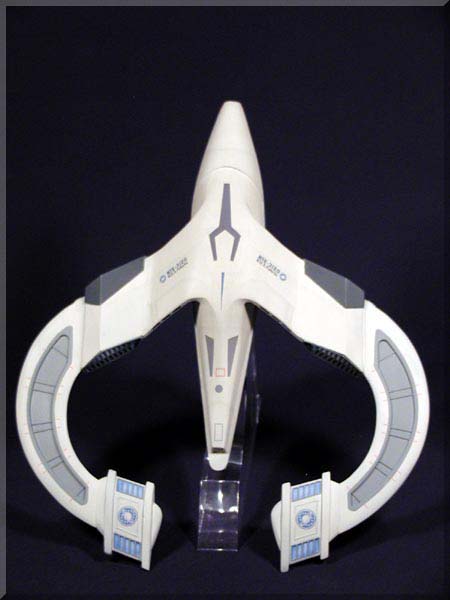
 The kit was stripped in a bath of Castrol Super Clean (an automotive degreaser that's biodegradable) and rewashed to remove any lingering residue. The puttied areas were retouched and a coat of Floquil primer was applied. The base coat was a 50/50 mix of Model Master Light Grey and White. A 50/50 mix of Light Grey and Light Ghost Grey was used for the spine of the ship and the other medium grey components. The dark grey areas were painted in Gunship Grey. Even after stripping and recleaning the surface, I ex-perienced some paint lifting during the masking process for the grey areas. Fortunately the problem was less severe and just some sanding and touchup were necessary.
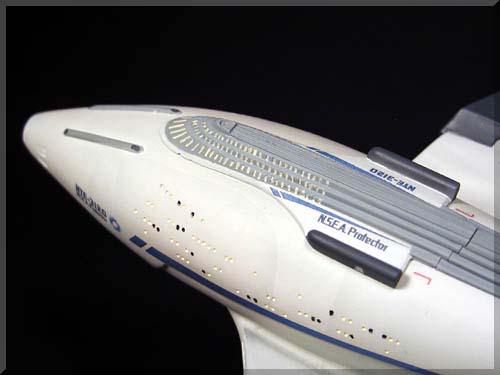
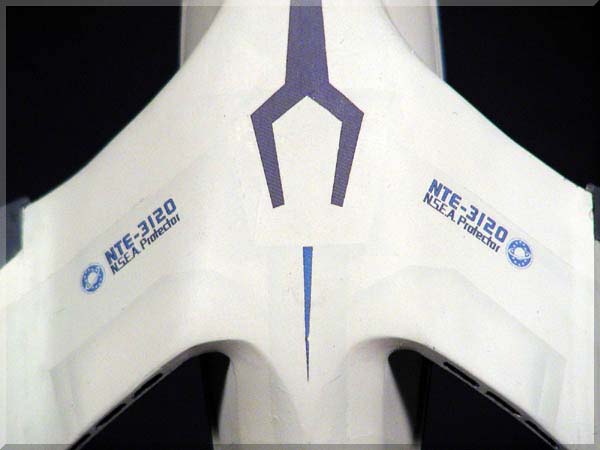
 The same mix of Light Grey and Light Ghost Grey that was used earlier was called upon for the subtle panel lines. Masking for the panel lines was accomplished with a combination of Tamiya masking tape and Post-It notes. The flexibilty of the Tamiya tape and the low tack nature of the Post-Its worked perfectly for this job. Using a light touch and spraying away from the masked edge, I was able to feather in the impression of panels. Once complete, the entire model was given a couple of coats of a clear gloss in preparation for the decals. Careful use of Micro-Sol and Micro-Set decal setting solutions is required as the decal film is quite thin. Once done with the decals, and a little hand brushing to fill in the windows, the kit was given a couple coats of Floquil Dullcoat.
The only real color used on the kit is the blue accents in the engine grids. I wanted to try to mimic the blue/white light that could be seen in the film when the engines were functioning. I'm not entirely satisfied with the results, but as a first effort it's passable. I started by air-brushing the entire grill with white. Then, with a fine setting, I air-brushed a light blue around the edges and over the grill bars, leaving as much of the white center free as possible. Lastly, I went back over the center sections with a bit more white to even it out.
 The clear acrylic stand is as yet unfinished. I wanted something less mundane than the usual brass rod. An acrylic base could help give the illusion of flight (and I still had a few pieces lying around from my Robins Ride project). The final plan would have the sides curved in much like the front and back edges as well as all of the surfaces rounded and polished. Simply put, I intended a more sculptural form than the chunky block as it now exists. The short flat surface on the front was intended to support a nameplate or logo. Perhaps I'll revisit the kit one day and complete the shaping of the base. Until then, here's the NSEA Protector.

