GREMLINS
 | ||||||
GREMLINS
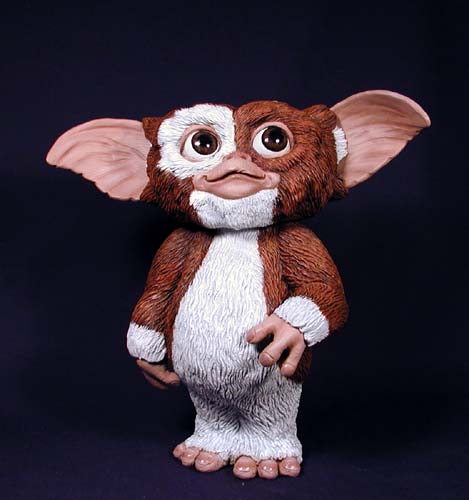
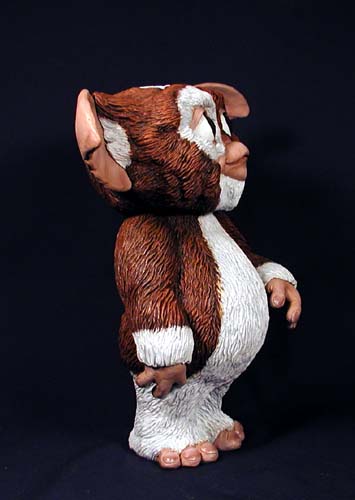
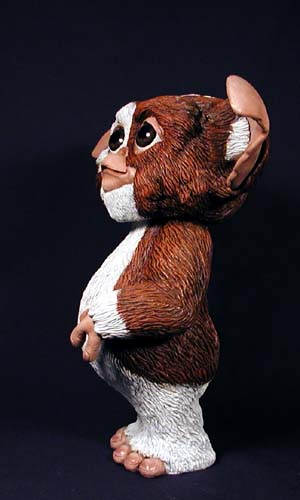
Presenting Gizmo, that furry little Mogwi from the movie Gremlins. This is a 1/1 scale resin kit sculpted by Vance T. Cast in 6 parts (head, torso, two hands, and two ears), this was an easy kit to assemble. The challenge, clearly, was going to be in the painting.

| ||||||
| ||||||

| ||||||
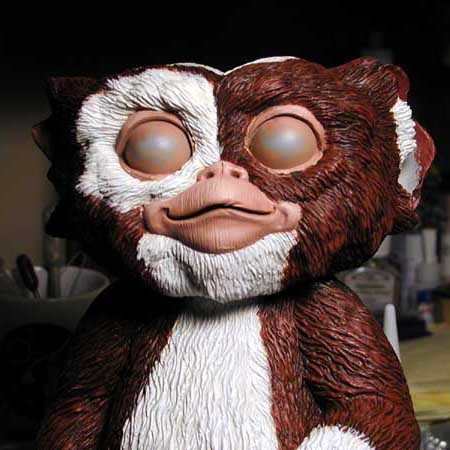

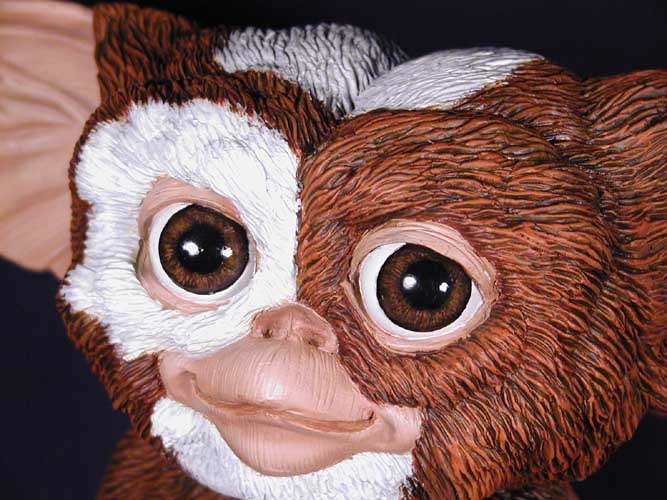
This was my first experiment using artists' acrylic paints--specifically, Liquitex tube paints. The flesh tones were mixed using Raw Sienna, Burnt Sienna, and Titanium White, starting with roughly equal portions of each. Highlights were built up of successively lighter shades of the base color, while the shadows were done with the basic flesh tone darkened with a bit of Raw Umber. While I was generally pleased with this first effort, I think the shading is a bit too subtle leaving the skin looking a bit too monotone on much of the face.


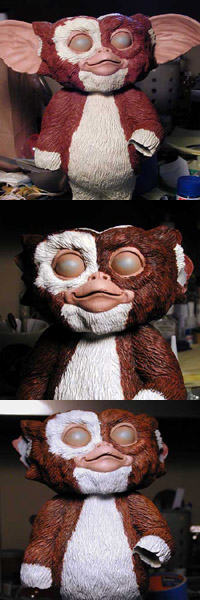
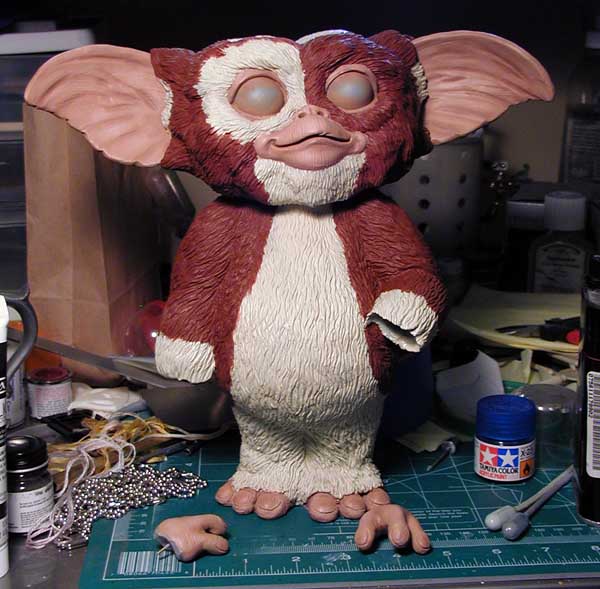
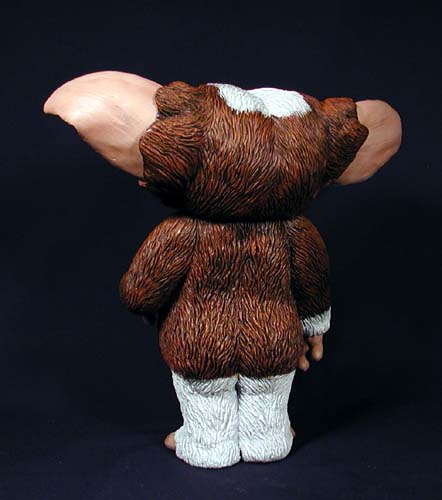
Gizmo's fur was another new experience for me. Most of the kits I've built to date have only small amounts of hair or fur, but here was a kit that was more than 90% fur--and two-tone at that. I started by blocking out the ivory white areas based on images of Gizmo from the film and then filled out the remainder with Burnt Sienna.
Next up was the the basic shading. Simple washes wouldn't do since the colors would flow into areas I didn't want them. To better control this I used a glaze. Two different tones were used--a light grey over the white areas and a Raw Umber over the brown areas. The grey was applied first, allowed to sit for a short while and then the excess was wiped off. The same was then done for the dark areas over the brown; being careful not to bleed into the white areas.
Once the glazes were dry I proceeded to drybrush the fur. Titanium White was used over the light areas. The brown fur was drybrushed with several varied mixtures of Burnt Sienna, Raw Sienna, and Red Oxide. The intention was to achieve more of a cinnamon tone with some more reddish highlights around the eye and ear. While I feel comfortable with the brown, the white seemed too stark--a darker grey glaze might have helped.
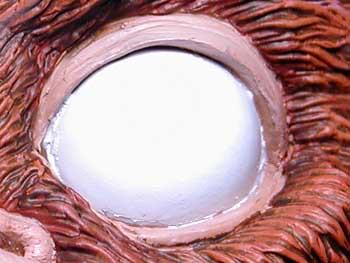
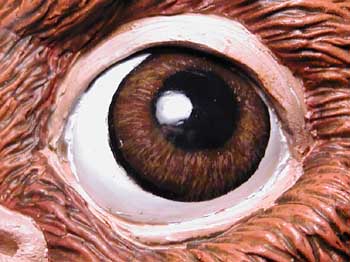
Painting the eyes was the most daunting challenge upon starting this kit. I began by painting the body of the eye white tinted with blue. In the movie there were no veins or substantial pink areas around the eye so I decided to limit this detail to a simple wash around the edges at the end of the painting process.
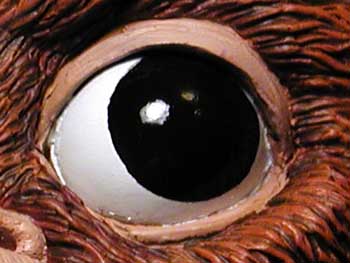
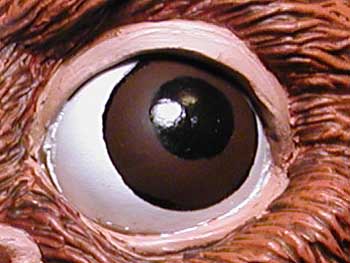
Next I made a 3/4" mask for the black so that I could judge to position of the irises and use the tape as a pattern for painting. A slightly smaller circle was used to mask and paint the brown base coat of the iris. I used a mix of Burnt Sienna and Burnt Umber realizing that the black undercoat would darken this.
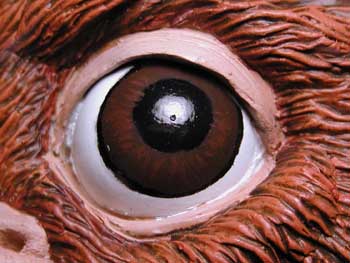
With the brown base painted I began the details that would bring the eyes to life--the colored striations in the iris. I used a fairly stiff bristled brush about a 1/4" wide for this effect. Using just the tips of the bristles, I applied a bit of paint to the brush, touched the tips of the bristles to the inner edge of the iris and lightly dragged the brush toward the outside edge being careful not the go over the edge of the brown base coat. The first color was a Burnt Sienna lightened slightly with Raw Sienna. The second application was lightened with more Raw Sienna and some Yellow Oxide. The final layer was almost entirely Yellow Oxide. By keeping the applications soft the under layers tend to show through adding to the effect.
The eyes were completed with several coats of Future tinged with a bit of ivory paint. Finally the pink wash was added.
| ||||||
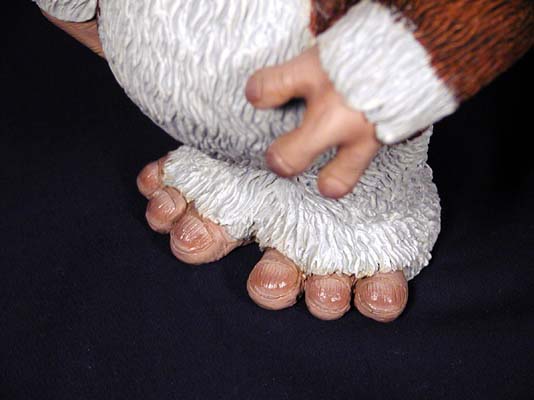
Gizmo's finger and toe nails are never seen clearly int he film, so I had no reference for them. I reasoned that the little guy, by his very nature, would have taken good care of himself and his nails would reflect that. As a result I chose not to give them any yellowing or other disgusting effects. The main part of the nail was given a red/brown tone. Using the base skin tone lightened slightly, I touched up the base of the nails with the half moons that most people can see in their own fingernails. Also, a bit of this color was added to the edges of the nails to show growth. Finally a couple coats of Future was applied to shine them up.
Overall, it's not the best build I've ever done but it was a learning experience with the new paints and the eyes.
| ||||||
| ||||||
| ||||||
| ||||||