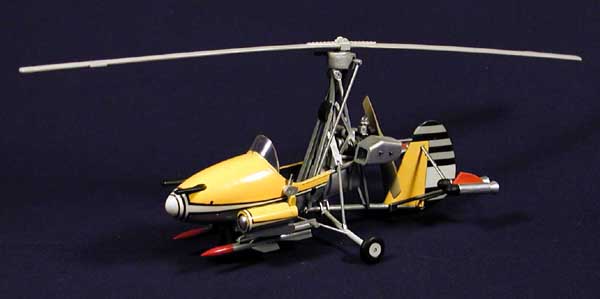
James Bond...it's synonymous with high-tech, super secret gadgets. "Q" branch has provided an amazing array of items to 007 over the past 40 years, but it's "Little Nellie" that is arguably the most memorable. Pictured here is the Airfix kit of the little flying machine that could. Modelled in 1/24 scale, the kit allows the builder to create either the original Wallis Autogyro or the lethal "Little Nellie".
I chose to build this kit straight from the box--no modifications or extra details. The real craft is a very simple machine, so the level of detail in the kit is more than adequate for my needs. Just as with the real craft, you start by building the basic autogyro. Suspended from, and enclosing this, are the body panels and weapons that make up Little Nellie. The only area that needed any puttywork was the forward body shell with it's seam running vertically along it's axis.
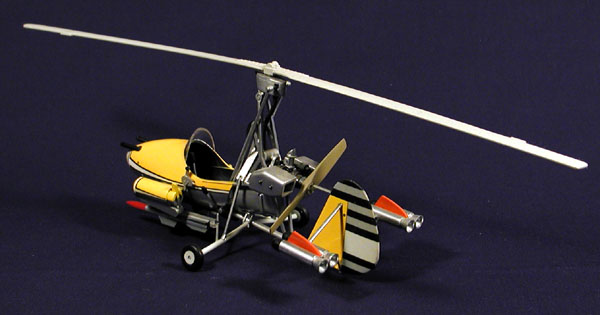
Painting this kit gave me my first chance to work with Humbrol brand enamel paints. Since the kit and the paints are both british in origin, it was natural that the instructions would suggest using this brand--and that was a good enough excuse for me. I have to say that I was very favorably impressed with the experience. Coverage and opacity was excellent for colors that are notorious for their transparency--namely white, yellow, and orange.
Most of the painting was done in subassemblies, as is common with hardware subjects. Silvers, greys, and black went on well and were primarily brush painted. It was the body that presented the only complication. The bulls-eye and side striping on the body were decals provided with the kit, as was the horizontal striping on the tail. All of the white areas that can be seen on the craft were transparent areas on the decals, making it necessary to paint these areas white on the body and tail first. The black lines did not provide much margin for error. To deal with this, I first painted the body, side pods, and tail with two coats of gloss white. I then carefully trimmed the decals to the edge of the black lines and then used them as templates to cut out exact masks from tape. By carefully placing these masks, I was able to then paint the silver and yellow areas, remove the masks, and then lay down the decals with perfect alignment.
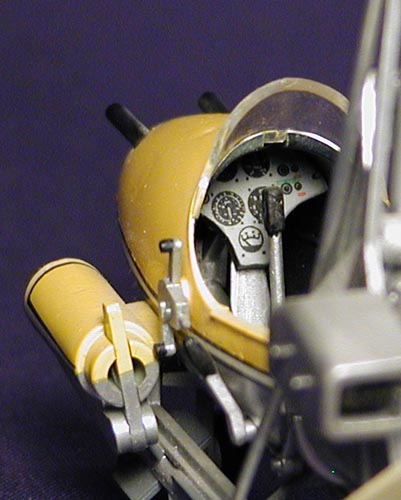
The gauge pod is a simple decal provided with the kit.